
Professional Pool Plumbing Repair for Reliable Water Flow & System Performance
Think about your pool’s plumbing system like the veins and arteries in your body. Just as blood needs to flow smoothly to keep you healthy, water needs to flow properly through your pool to keep it clean, safe, and comfortable. But unlike your body’s circulation, you can’t see your pool’s plumbing—it’s mostly hidden underground or behind walls. That’s why when problems start, they can be confusing and stressful.
Here’s what your pool plumbing does every single day:
It pulls water out through the skimmers (those openings on the side of your pool) and the main drain at the bottom
It sends that water through pipes buried in your yard to your equipment area
It pushes water through the filter to clean it, the heater to warm it, and the chemical feeder to sanitize it
It returns clean water back to your pool through those small jets on the side walls
It repeats this cycle every few hours, all day long, without you having to think about it
Your pool plumbing works under pressure—both literally and figuratively. The pipes handle water pressure, chemical exposure, temperature changes, and ground movement year after year. When it works perfectly, you get to enjoy a sparkling clean pool. When something goes wrong, you’ll notice problems that affect your entire pool experience.
Pool plumbing problems don’t usually announce themselves with a bang. Instead, they give you subtle hints that gradually get worse. Learning to recognize these signs early can save you thousands of dollars and prevent major headaches.
Normal evaporation happens to every pool. In summer, you might lose about 1/4 inch of water per day. In winter, it’s less. But plumbing leaks cause much more water loss. Here’s how to tell the difference:
Do the bucket test:
Fill a bucket with pool water and place it on your pool steps
Mark the water level inside the bucket
Mark the pool water level on the outside of the bucket
Wait 24 hours without running the pool pump
Compare the two water levels
If the pool water dropped more than the bucket water, you likely have a leak. A difference of more than 1/4 inch means you should call for professional help.
Other water loss clues:
Constantly adding water: If you’re filling the pool more than once a week
Unexplained water bill increases: A sudden jump in your bill without changing usage
The pool never stays full: Even after adding water, the level keeps dropping
When you see air bubbles coming from your pool’s return jets, it’s like your pool is trying to tell you something. Here’s what different bubble patterns mean:
A few bubbles when the pump first starts: This is usually normal—air gets trapped when the pump is off
Constant stream of small bubbles: This suggests a small leak on the suction side (before the pump)
Large, gushing air pockets: This indicates a significant leak that needs immediate attention
Bubbles only when the pump is on high speed: This could mean a leak that only opens under stronger suction
Air in your system does more than just make bubbles. It causes your pump to work harder, can damage pump seals, reduces filtering efficiency, and makes your heater less effective.
Good circulation is what keeps your pool clean. When plumbing issues disrupt circulation, you’ll notice:
Dead spots: Areas where leaves, dirt, or pollen just float in one place
Poor chemical distribution: One area of the pool has perfect chemistry while another has algae
Temperature variations: Some spots feel much colder than others
Cloudy water that won’t clear: Despite running the filter longer, the water stays cloudy
Think of it this way: if water isn’t moving properly through all areas of your pool, it’s like having a house with poor air circulation—stale air collects in some rooms while others stay fresh.
Your pool equipment gives you valuable clues about plumbing health:
Pump sounds different: Making gulping, coughing, or whining noises
Filter pressure changes dramatically: Either too high or too low compared to normal
Heater won’t stay on: Turns off shortly after starting
Automatic cleaner moves poorly: Gets stuck or doesn’t cover the whole pool
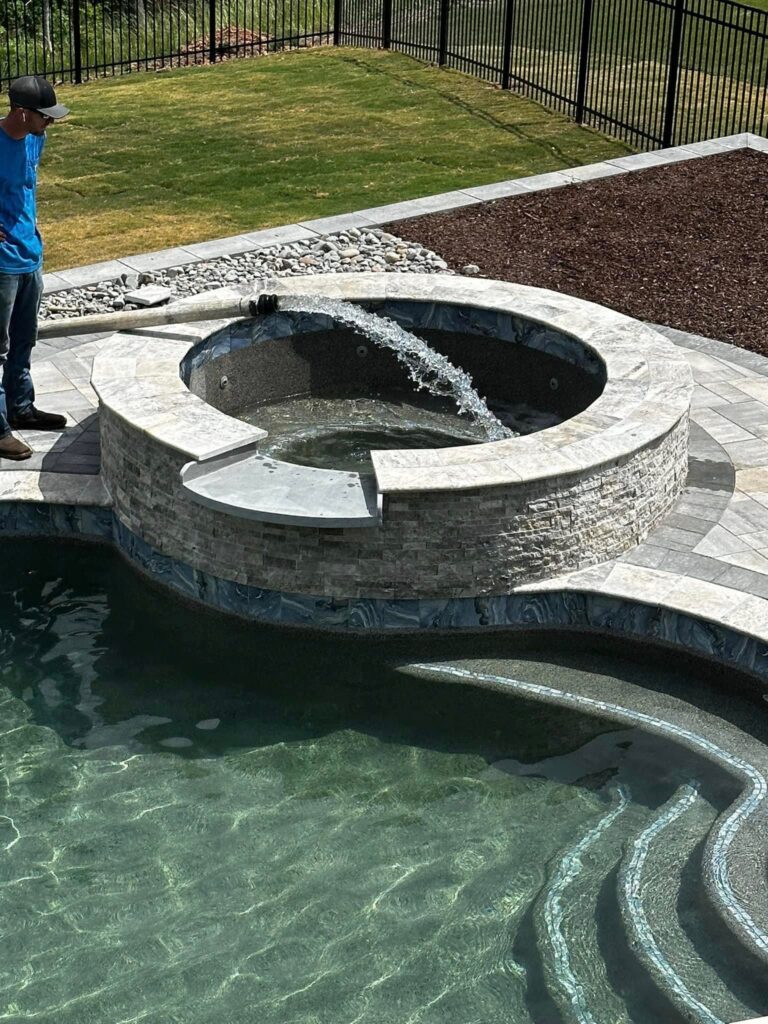
Water features weak: Waterfalls or fountains have reduced flow
Sometimes the ground tells you what’s happening underground:
Always-wet spots: Areas that stay damp even during dry weather
Unusually green grass: One patch grows much better than the rest
Sinking or cracking: Deck, patio, or nearby pavement starts sinking or cracking
Muddy areas: Soil that stays soft and muddy
Insect attractors: More mosquitoes or bugs in one area (they love standing water)
If you’re constantly fighting chemical balance issues, your plumbing might be the culprit:
Can’t maintain chlorine levels: Despite adding chlorine, it disappears quickly
Constant pH swings: The pH won’t stay stable no matter what you do
Persistent algae: Even after shocking and brushing, algae keeps coming back
Cloudiness that won’t clear: The water stays cloudy despite proper filtration
These chemical issues happen because leaks constantly dilute your chemicals, or poor circulation prevents even distribution.

Where they happen: Anywhere in the pipes buried around your pool
What causes them:
Tree roots: Growing around and eventually into pipes
Ground movement: Soil settling, freezing/thawing cycles
Age: Most pool pipes last 20-30 years
Poor installation: Pipes not properly supported or protected
Accidental damage: From digging, construction, or heavy vehicles
What makes them tricky: You can’t see them, and the water travels through soil, making it hard to pinpoint exactly where the leak is coming from.
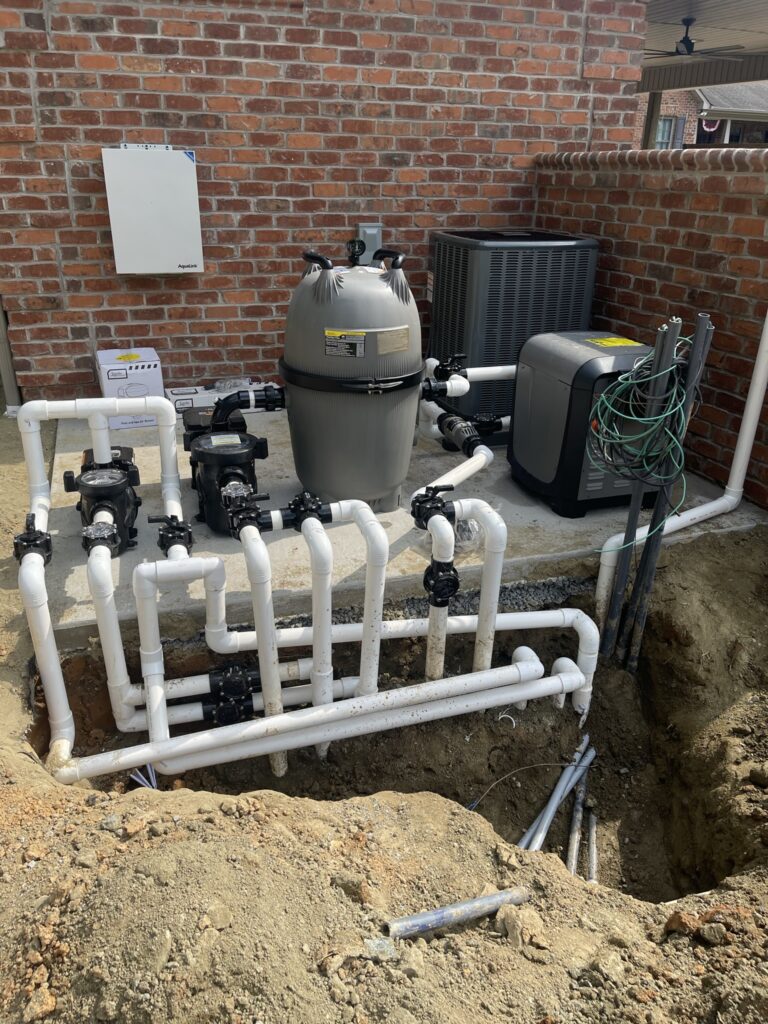
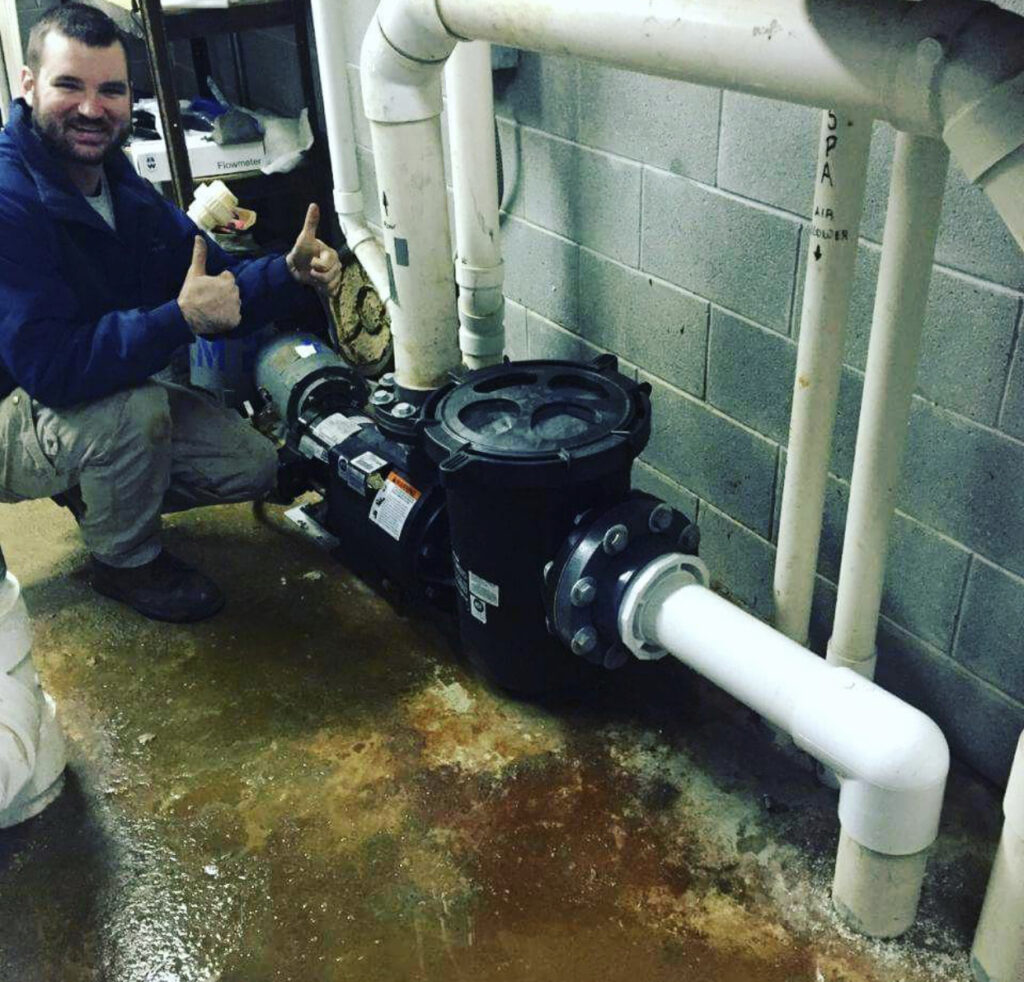
Where they happen: Around pumps, filters, heaters, valves—anywhere pipes connect above ground
What causes them:
Vibration: Equipment shaking loosens connections over time
Chemical exposure: Chlorine and other chemicals can degrade materials
Weather exposure: Sun, rain, and temperature changes
Poor previous repairs: Quick fixes that didn’t last
Normal wear and tear: Seals and gaskets that have simply worn out
The good news: These are easier to find and usually cheaper to fix than underground leaks.
Skimmer leaks: Happen where the skimmer connects to the underground pipe. Often caused by ground movement or improper installation.
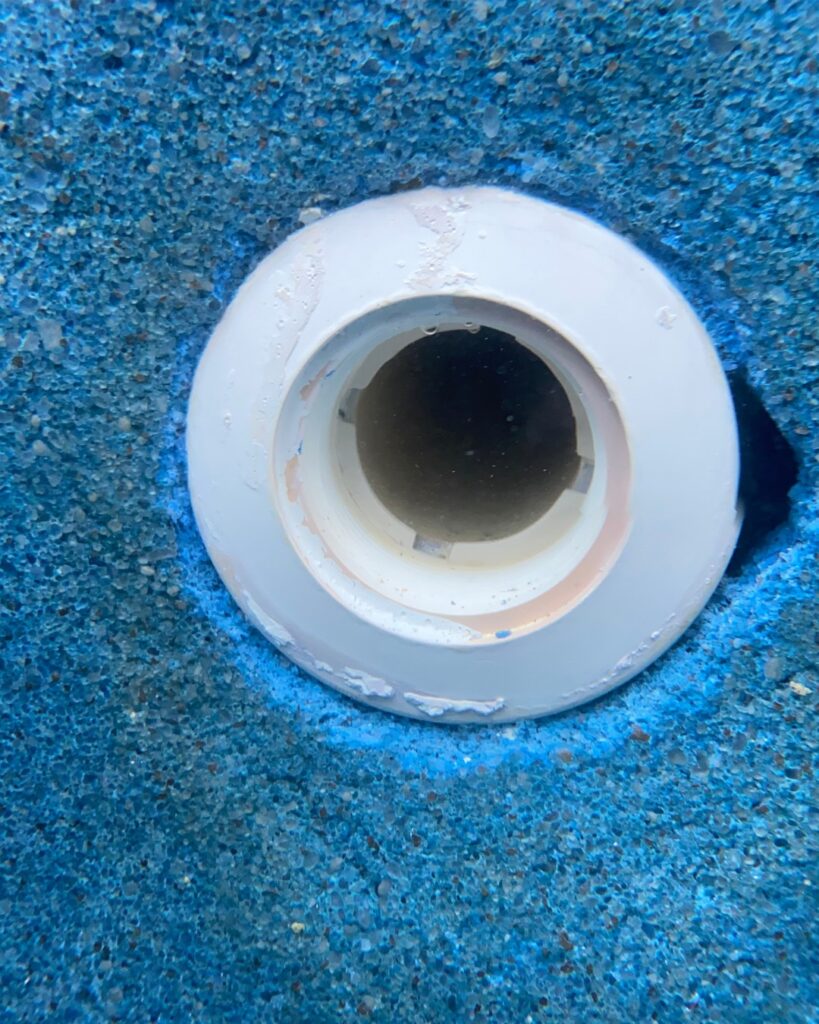
Return line leaks: Occur where water returns to the pool. Can be caused by freezing damage or corrosion.
Valves control where water goes in your system. Common issues include:
Stuck valves: Won’t turn or move
Leaking valves: Water escapes around the handle or stem
Broken valves: Cracked or damaged bodies
Misaligned valves: Don’t direct water where they should
Things that clog pool pipes include:
Natural debris: Leaves, pine needles, acorns
Human-made items: Broken pool toys, lost jewelry, hair clips
Mineral buildup: Scale from hard water (like the stuff in your kettle)
Construction debris: Sand, gravel, or cement from original installation
Organic growth: Algae or biofilm inside pipes
Tree roots: Growing into pipes through small openings
Sometimes the issue isn’t damage but poor original design:
Pipes too small: Like drinking a thick milkshake through a coffee stirrer
Too many sharp turns: Each turn slows water down
Missing important valves: Makes maintenance and repairs difficult
Equipment too far from pool: Longer pipes mean more friction and pressure loss
Poor pipe slope: Traps air or doesn’t drain properly
Gone are the days when finding a leak meant digging up your entire backyard. Modern leak detection uses technology to pinpoint problems with amazing accuracy.
We start by asking questions that help us understand your specific situation:
“When did you first notice something was wrong?”
“What exactly have you observed?”
“Has anything changed recently (new trees, construction, equipment)?”
“What’s different from last season?”
“Have you had any work done on the pool recently?”
Your answers give us valuable clues about where to start looking.
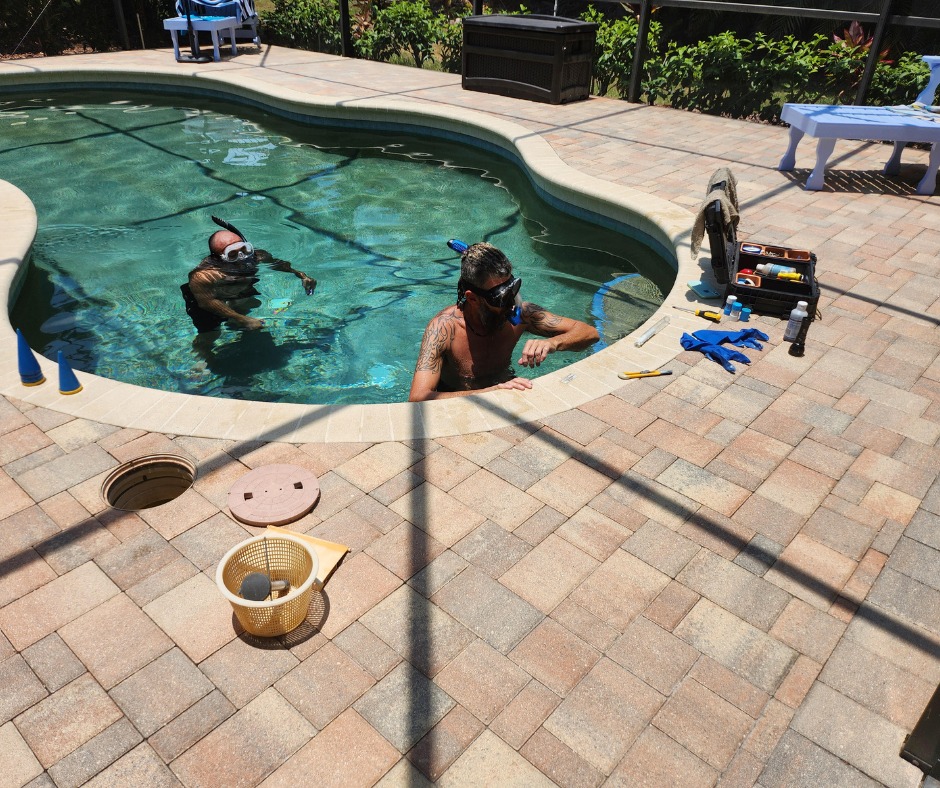
We examine everything we can see:
The equipment pad: Looking for leaks, corrosion, or damage
The pool area: Checking for wet spots, sinking, or unusual growth
The water: Observing movement, clarity, and bubble patterns
The equipment: Listening to sounds, checking pressure gauges
Visible plumbing: Inspecting above-ground pipes and connections

This is how we confirm leaks and pinpoint their location:
Isolate sections: We separate different parts of your plumbing system
Pressurize: We pump air or water into each isolated section
Monitor: We watch the pressure gauge carefully
Interpret results: If pressure drops, that section has a leak
We can test:
Just the skimmer lines
Just the main drain line
Just the return lines
The equipment pad plumbing
Any combination of these
This method tells us not just IF you have a leak, but exactly WHERE it is.
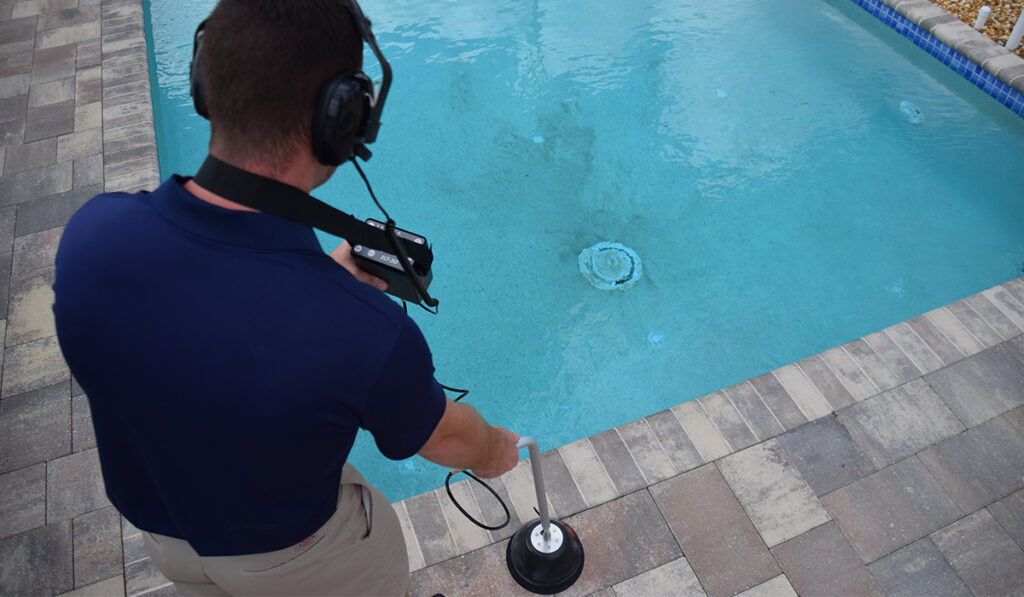
For underground leaks, we use specialized equipment:
Listening Devices:
Ground microphones: Sensitive microphones placed on the ground
Hydrophones: Microphones that listen through the pipe walls
How they work: Water escaping under pressure makes a specific sound. Our equipment can hear this sound through several feet of soil or concrete.
Correlation Equipment (The most advanced method):
Uses two sensors placed on either side of a suspected leak
Measures how long sound takes to reach each sensor
Calculates exact leak location (often within inches)
Works even through concrete, asphalt, or dense soil
Ground Probing:
Special probes that detect soil moisture
Helps map wet areas around suspected leaks
Confirms findings from other methods
For suspected clogs or internal damage:
Flexible cameras: Snake through pipes like a medical endoscope
Lighted and waterproof: Can see clearly inside pipes
Records footage: Lets us show you exactly what we find
Non-invasive: No digging required for inspection
Sometimes the old ways work best:
Special pool-safe dye: Non-toxic and brightly colored
Injected near suspected leaks: Around skimmers, returns, or cracks
Watch the dye movement: If there’s a leak, dye gets pulled toward it
Great for confirmation: Helps verify findings from other methods
We measure:
Flow rates: How much water is moving through the system
Pressure drops: How much pressure is lost through different components
Pump performance: Is the pump working efficiently?
System balance: Is water distributed properly?
This helps us identify not just leaks, but also clogs, restrictions, and design problems.
Saltwater systems are harder on plumbing because salt is corrosive. We use:
Special materials: PVC formulations resistant to salt corrosion
Extra protection: Additional measures at connection points
Different techniques: Modified repair methods for salt environments
More frequent inspections: Salt systems need closer monitoring
Vintage pools often have:
Different materials: Older pipe types no longer commonly used
Outdated designs: From when codes and standards were different
Previous repairs: That might not have been done correctly
Fewer access points: Making repairs more challenging
Compatibility issues: Older fittings that don’t match modern parts
We’re experienced with all eras of pool construction and keep parts for older systems or know where to source them.
Pools with multiple features need special consideration:
Water features: Waterfalls, fountains, deck jets
Attached spas: With separate circulation systems
Automatic cleaners: Pressure-side or suction-side
Solar heating: Additional plumbing and valves
Advanced automation: Computer-controlled systems
Multiple zones: Different areas with different needs
We understand how all these systems interact and ensure repairs don’t disrupt other features.
These systems have different requirements:
Heavier usage: More wear and tear
Strict regulations: Health department codes and requirements
Less downtime needed: Repairs often scheduled for off-hours
Documentation needs: Detailed records for management and regulators
Different materials: Often commercial-grade components
Redundancy systems: Backup equipment that must be maintained
We have experience with commercial systems and understand their unique demands
What we do:
Perform thorough testing using appropriate methods
Analyze all findings
Determine exactly what’s wrong and why
Consider all possible repair options
What you get:
A clear explanation of the problem (in plain English, not technical jargon)
Photos or diagrams showing what’s wrong
All available repair options
Our professional recommendation
Upfront pricing for each option
No surprises: We don’t start work until you understand and approve exactly what we’ll do and what it will cost.
How we approach different types of problems:
For Underground Leaks:
Exact location: Using our detection equipment, we find the precise spot
Minimal excavation: We dig only what’s necessary—often just a small hole
Careful digging: Using hand tools or small machinery to avoid collateral damage
The repair itself: Cutting out damaged section and replacing with new pipe
Testing before covering: We pressure test the repair before filling the hole
Proper restoration: Backfilling correctly and restoring landscaping
For Equipment Pad Repairs:
Safe shutdown: Properly turning off power and water
Clean workspace: Protecting surrounding areas
Quality materials: Using pool-specific pipes, fittings, and sealants
Proper techniques: Following manufacturer specifications and industry standards
Alignment and support: Ensuring pipes are properly supported to prevent future problems
Clean connections: Proper preparation and joining of all connections
For Valve Repairs:
Complete assessment: Checking all related components
Proper replacement: Using correct valve type and size
Smooth operation: Ensuring valves turn easily and seal properly
Clear labeling: So you know what each valve controls
Operation demonstration: Showing you how to use them correctly
For Clog Removal:
Identify clog type: Different clogs require different approaches
Choose appropriate method: Hydro-jetting, snaking, or chemical treatment
Complete removal: Ensuring all debris is cleared
System flushing: Cleaning out any remaining particles
Prevention advice: How to avoid similar clogs in the future
We never consider a job complete until we’ve verified everything works perfectly:
Pressure testing: Confirming no leaks remain
Flow testing: Ensuring proper water movement
Equipment testing: Verifying all equipment operates correctly
Visual inspection: Checking for any issues we might have missed
Owner demonstration: Showing you that the problem is fixed
Property cleanup:
Removing all debris and materials
Cleaning work areas
Restoring landscaping as closely as possible to original condition
Leaving your property cleaner than we found it
Documentation provided:
Detailed invoice showing exactly what was done
Warranty information for parts and labor
Photos of before/during/after if applicable
Maintenance recommendations specific to your situation
Contact information for any follow-up questions
Our commitment doesn’t end when we leave:
We’re available for questions anytime
We follow up to ensure everything is still working properly
We honor our warranty without hassle
We keep records so we understand your system for any future work
Problem location: Underground leaks cost more to find but not necessarily more to fix
Access difficulty: Hard-to-reach areas take more time
Repair complexity: Simple fixes vs. complex reconstructions
Materials needed: Type and amount of replacement parts
Labor time: How long the repair takes
Equipment required: Special tools or machinery needed
Landscape restoration: Putting your yard back together
Simple above-ground repair: $200-$400 (leaking valve, small equipment pad leak)
Moderate underground repair: $400-$800 (single leak in accessible location)
Complex repair: $800-$1,500 (multiple leaks, difficult access, significant work)
Complete system overhaul: $1,500-$5,000+ (multiple problems, poor original design)
Expertise: Years of training and experience
Equipment: Thousands of dollars worth of specialized tools
Time: Not just repair time, but diagnosis and testing time
Materials: Quality parts designed for pool use
Insurance: Protecting you and your property
Warranty: Peace of mind that the repair will last
Cleanup: Proper restoration of your property
Correct diagnosis: Fixing the right problem the first time
Proper repair: Done correctly so it doesn’t fail quickly
Prevention: Addressing underlying causes to prevent future problems
Efficiency: Getting it done right in less time
Warranty protection: If something goes wrong, it’s covered
Many companies show up assuming they know what’s wrong. We start by asking questions and listening carefully to your observations. You live with your pool every day—you notice things we might miss in a quick inspection.
We explain things in plain English, not technical jargon. You’ll understand: What’s wrong Why it matters How we’ll fix it What results to expect How to prevent similar problems Knowledgeable customers make better decisions and have more realistic expectations.
We’ve invested in modern leak detection and repair equipment because: It’s faster: Finds problems in hours instead of days It’s more accurate: Pinpoints leaks within inches It’s less disruptive: Smaller excavations mean less landscape damage It’s more reliable: Better tools mean better results
We treat your property as if it were our own: Protection: Using drop cloths and barriers to protect surfaces Cleanliness: Cleaning up thoroughly every day Communication: Keeping you informed about progress Respect: For your time, property, and privacy Follow-through: Completing what we promise
Almost certainly not. With modern leak detection equipment, we can usually pinpoint leaks within inches. This means we typically need only a small excavation—sometimes as small as 12×12 inches. We’re very careful with landscaping and always restore areas we work in. In many cases, you’d hardly know we were there once the grass grows back.
Seasonal transitions create multiple stress factors:
Thermal shock from temperature differences
Pressure spikes during initial start-up
Ground movement from freeze/thaw cycles
Chemical concentration changes
Sediment disturbance during startup
We recommend gradual system pressurization at season opening and proper winterization procedures to minimize these transitional stresses.
Use the bucket test: Place a bucket on pool steps filled to match pool level. Mark both levels. After 24 hours with pump off, compare water loss. More than 1/4″ difference indicates a leak. More sophisticated: Monitor make-up water frequency; modern systems shouldn’t need daily adding. Also, leaks often show as consistently damp areas, vegetation growth near lines, or air bubbles in returns when pump starts.
This classic symptom points to a pressure-side leak (after the pump). Common locations include return line fittings, underground return pipes, or equipment pad connections on the pressure side. The leak opens under pressure but may seal partially when the system is off. This pattern requires pressure testing individual return lines to isolate the specific leak location.
Absolutely. Trees seek water sources, and pool pipes often contain microscopic moisture even when not leaking. Roots can exert immense pressure (up to 130 PSI documented), cracking pipes or infiltrating through joints. Certain species (willows, poplars, maples) are particularly aggressive. We recommend maintaining at least a 10-foot clearance between major trees and pool plumbing runs, and installing root barriers where this isn’t possible.
Properly executed repairs should match or exceed original installation lifespan:
Solvent-welded PVC joints: 20-30 years
Mechanical couplings (with proper installation): 10-15 years
Pipe lining repairs: 15-25 years
HDPE fusion joints: 30-50 years
Actual lifespan depends on soil conditions, water chemistry, thermal cycling, and proper system operation.
Sometimes, but not usually. Most homeowners policies exclude gradual damage (like slow leaks) and consider pool plumbing maintenance to be the owner’s responsibility. However:
Sudden damage (like a pipe bursting) might be covered
Resulting damage (to deck, landscaping, or house foundation) might be covered
Always check with your insurance company and get claims advice before filing
We can provide detailed documentation that might help with insurance claims if coverage applies.
Some minor above-ground repairs might be DIY-friendly if you’re handy and understand pool systems. However, most plumbing repairs benefit from professional attention because:
What professionals bring that DIY doesn’t:
Experience: We’ve seen hundreds of similar situations
Tools: Thousands of dollars worth of specialized equipment
Knowledge: Understanding of codes, best practices, and potential complications
Efficiency: Getting it done right in less time
Warranty: If something goes wrong, we fix it at no cost to you
Liability protection: We’re insured if something unexpected happens
When DIY makes sense:
Replacing a simple above-ground valve
Tightening loose unions that are easily accessible
Cleaning visible clogged strainer baskets
Minor adjustments to above-ground fittings
When to call a professional:
Anything underground
Anything involving equipment connections
Anything you don’t feel completely confident about
Anything that could affect safety
Anything under warranty that might be voided by DIY work
We provide professional pool pump repair services across North Texas, including Frisco, Plano, McKinney, Allen, and surrounding communities.